TGIF Beauties!
And you know what that means. It means time for a bit of self-care this weekend and maybe, if we're lucky, time to take our weekend skincare to the next level. So this week, I'm walking you through an at-home facial that covers all the basics.
When we want to improve the look and feel of our skin, we address daily skincare practices first. What we do daily makes the most significant difference in who we are because we are what we repeatedly do. Therefore, a regular morning and evening skincare practice + facial massage + proper hydration, and nutrition are essential. In addition, spending a little extra time once or twice a week for exfoliation helps bring the glow back to the skin and allows the products we use on the skin to be more effective.
So what could beat all that? Regular facials with a professional esthetician who can customize a treatment just for you. Now I love a spa-like facial as much as the next girl, but it doesn't always jive with my budget, so I limit professional treatments to just once per season and take the time once or twice a month to pamper my skin like I'm sharing with you here today.
Here are my tips for an at-home facial you'll want to schedule in your planner every week.
* Schedule this or any self-care as a non-negotiable on your calendar.
* Set the mood for yourself. The environment is everything! Have a favorite music playlist on hand and pop in those earbuds if you need to. Have all your favorite tools and products stocked, let the people you share your space with know your intentions, and most importantly, don't cancel on yourself.
1. Compress. Using a warm (not hot) washcloth, I like to spritz mine with a little Lavender or Rose Water Toner, depending on my mood. Apply the warm compress to your face, neck, and chest to soften skin to prep for cleansing. I like to do this daily before cleansing, but I take a little extra time here and breathe deeply on facial days. Just a few minutes spent on breathing intentionally sets the tone for my facial.
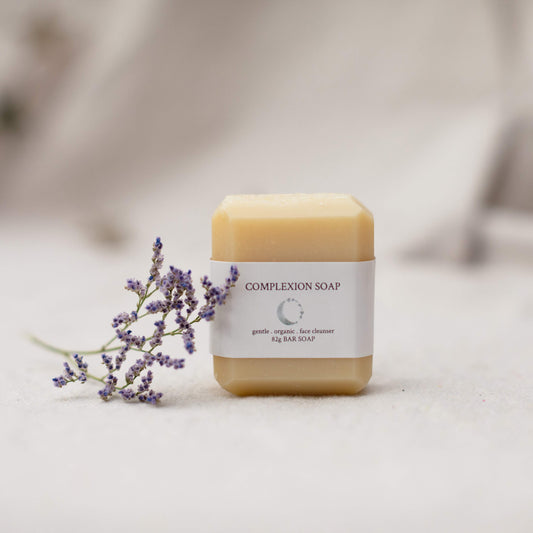
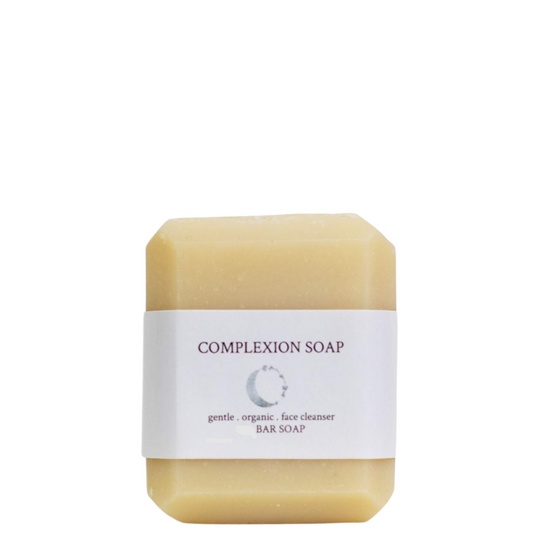
2. Cleanse. Just like you would daily, use your cleanser like our Organic Complexion Bar Soap or the Oil Cleansing Method to gently and thoroughly cleanse your face, neck, and chest.
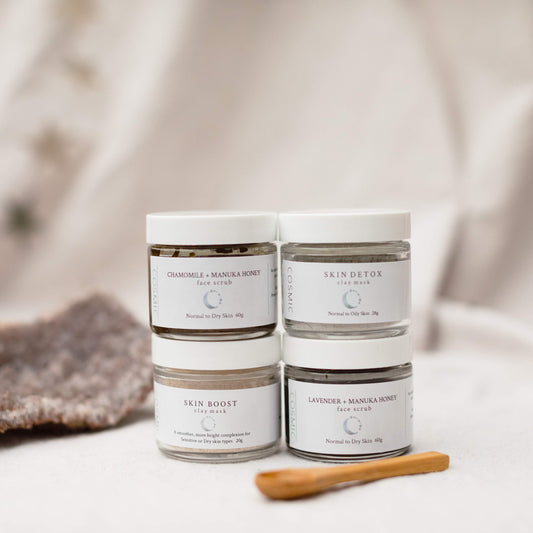
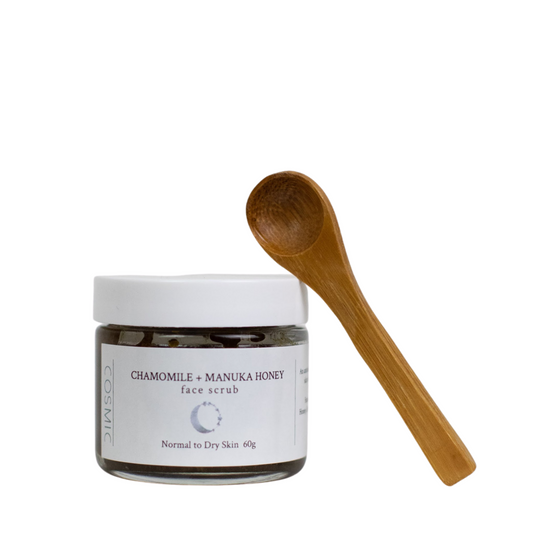
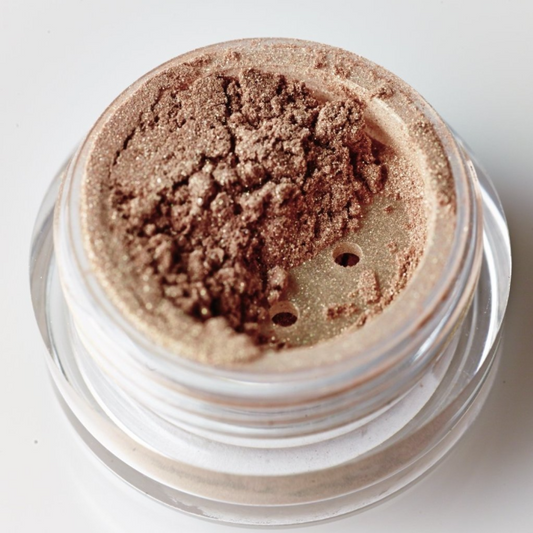
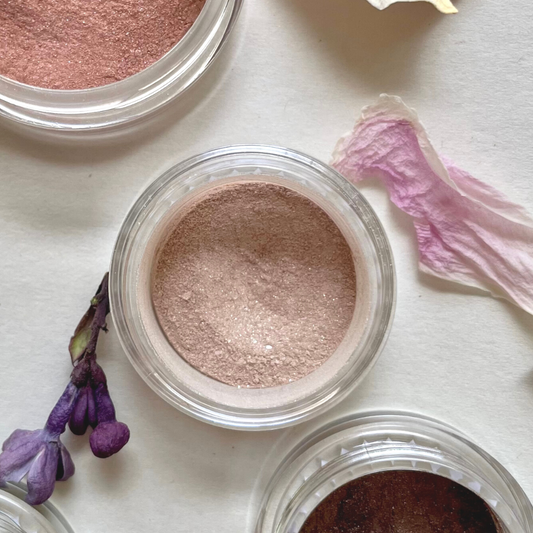
3. Exfoliate. Using a physical exfoliator like your Clay Mask Powders or your Manuka Honey Face Scrub, gently exfoliate the skin as you would do weekly. Exfoliating will gently remove dead cells from the surface of our skin.
4. Steam. We're taking it to the next level and adding a steaming treatment to pamper and gently cleanse the skin, softening stubborn dead skin cells that won't shed naturally and also soften gunk that may be stuck in our pores. Using a steam treatment on the skin once a week can be hydrating when done correctly, no more than 8-10 minutes for normal, oily, or acne-prone skin and 2-5 minutes for dry, sensitive, or mature skin. Those with combo skin should treat skin based on its predominant skin type. Too much heat, too much steam can be drying, so although the skin will look plump, rosy, and amazing after your treatment, just like exfoliating, try to refrain from doing this too often. Be sure you protect sensitive areas like eyes and lips, consistently applying eye cream & lip balm before doing a steam treatment. Small steaming machines can be purchased for home use that are safe for skin, giving you consistent gentle steam with a constant temperature.
! Extractions. Don't do it - don't pick at your skin. That's right, at-home extractions are highly discouraged. Your skin will be soft, and pores will appear open and ready for picking, but I encourage you to allow your skincare to be a process and leave extractions to the professionals. We've done all this work to soften skin, and doing extractions now may actually damage your skin, and we don't want that.
5. Moisturizing Mask. Which is my favorite, you ask? Honey! Manuka Honey is my all-time favorite, but local honey will do just fine and helps your local economy, and that's a good thing too. After steaming, I like to slather my skin in a thin layer of honey for a sweet moisturizing honey mask. Honey has been used in beauty rituals by women for ages. Beneficial for all skin types, its antibacterial properties make it suitable for even acne-prone skin types. Rinse well after a 10-minute application. Your face should be positively glowing now but let's keep the pampering up.
6. Facial Misting. Apply your flower water toner by misting clean skin with your choice of Rose or Lavender Flower Water. Not all toners are created equal; Cosmic toners are 100% natural flower water, with no alcohol added. Let's keep it gentle here and stick with the most natural variety.
7. Treatment. We have cleansed, exfoliated, steamed, masked and toned skin, and you're probably asking what more could we possibly do...? It's time for serums, often added to a skincare practice when you're trying to treat a specific skin concern. For example, you may use a Vitamin C treatment for brightening, a Retinol for mature skin, or Hyaluronic Acid for dry skin. Treatments may often be a part of your daily skincare practice, but that doesn't make them any less special during your at-home facial.
8. Eye Cream. If you've been around here a while, you already know I'm constantly on the hunt for a good eye cream with a clean ingredient list that I can see or feel a difference in my skin. I'm not 100% sold on any particular brand here and am constantly changing things out. Still, I've decided eye cream must be an investment in the future because even after using it regularly, I find that I don't particularly see results, so I'll trust the science.
9. Moisturize & Massage. A facial massage with my Radiant Oil Moisturizer might be my all-time favorite step of my at-home facial. It's like the grand finale of your facial. Hair is tied up, out of my face, and off my neck and shoulders. You have your choice of using your hands, your Jade Face Roller or choice of your facial Gua Sha Tool. I begin by warming a liberal amount of my Radiant Complexion Oil in my hand before gently pressing it into my skin, making sure my face, neck, and chest are all well covered. Then I go to town gently massaging the skin, taking extra time to massage my forehead, neck, and shoulders, where I tend to hold tension. Here's a short video for an everyday face massage as a guide. For facial days I just take a little extra time here.
*And Wa-La, that's it! I can usually go through all these steps in under an hour, and if I'm lucky and have the extra time and house to myself - I'll add a soak in the tub during step #5 the Moisturizing Honey Mask, and extend the mask time to 25-30m.
I wanna know from you... is this a little too extra, or are you willing to give it a try?


